Introduction
A cracked phone screen can be an annoying, yet common, issue for many smartphone owners. The prospect of paying for costly professional repairs drives individuals to explore effective, budget-conscious DIY solutions. Using glue to mend a cracked screen may initially seem intimidating, but with careful guidance, precision, and the right materials, it is achievable. This guide details how to rejuvenate your phone’s screen with the appropriate glue, ensuring you get it back to its flawless state.
Understanding Phone Screen Damage
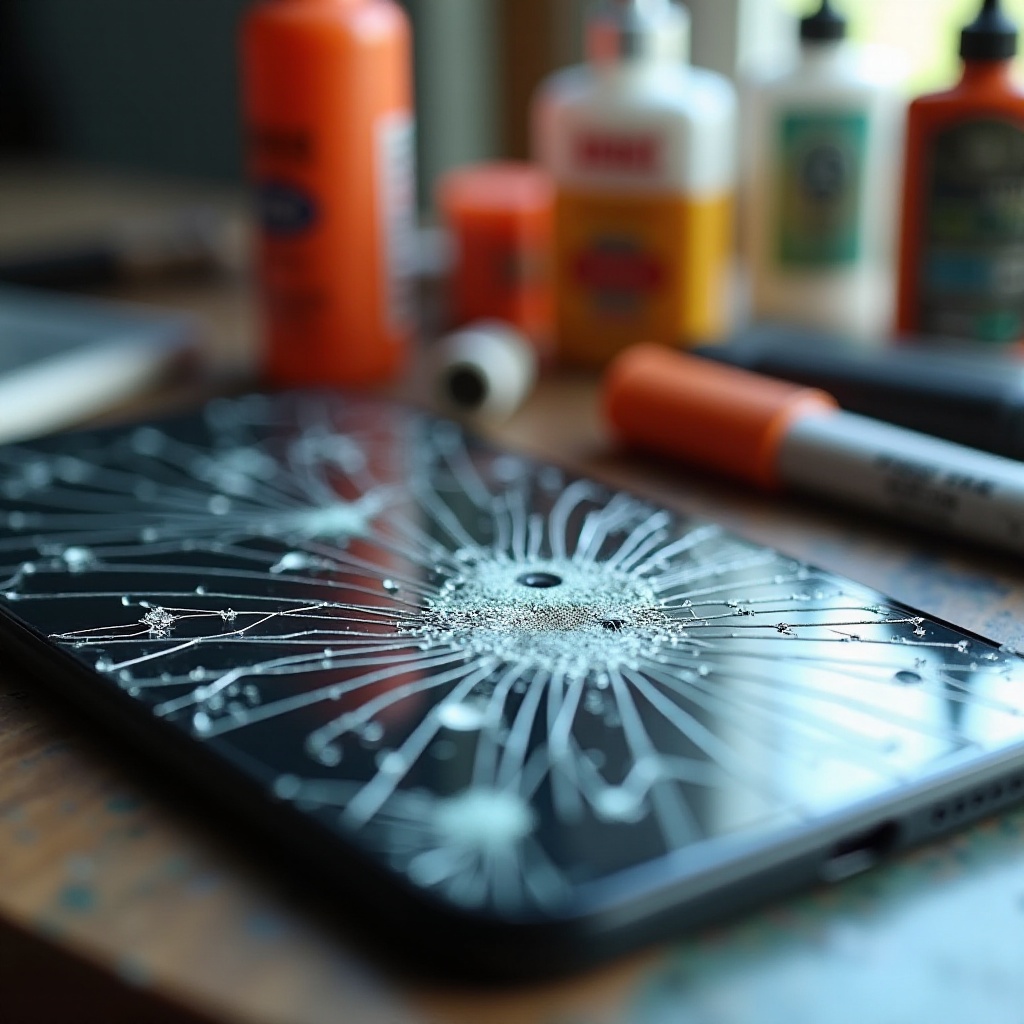
Before tackling the repair, it is essential to comprehend the types of screen damage you might encounter and their respective effects. Screen cracks vary in form, ranging from subtle hairline fractures to extensive spiderweb-like breaks, each presenting distinct challenges and repair needs.
Types of Cracks and Their Implications
Hairline fractures might only affect the screen’s aesthetics but can expand if left unresolved. Meanwhile, spiderweb cracks often diminish touch sensitivity and reduce display clarity. Extensive edge-to-edge cracking can also compromise your phone’s structure, leading to waterproofing issues and potential internal damage.
Causes of Screen Damage
The usual culprits behind screen cracking include drops, direct impacts, and pressure. Even minor contact with sharp objects or rough surfaces can produce seemingly insignificant scratches that deteriorate over time. Recognizing the root cause can help you prevent future incidents and properly address any existing damage.
Once you understand the types of damage and their implications, you can select the best repair method to restore your screen. Doing so saves effort, money, and prolongs your device’s lifespan, connecting seamlessly with the next phase in your repair journey.
Selecting the Right Glue for Screen Repair
Selecting the most suitable adhesive is critical to performing effective and lasting screen repairs. Not all glues are equal; different types offer varying properties and applications that influence repair outcomes.
Overview of Adhesive Types
-
Epoxy Resin: Epoxy is renowned for its robust bonding capabilities, making it ideal for deep cracks and non-touch-sensitive areas. It cures to form a hard, transparent layer, providing durable repairs.
-
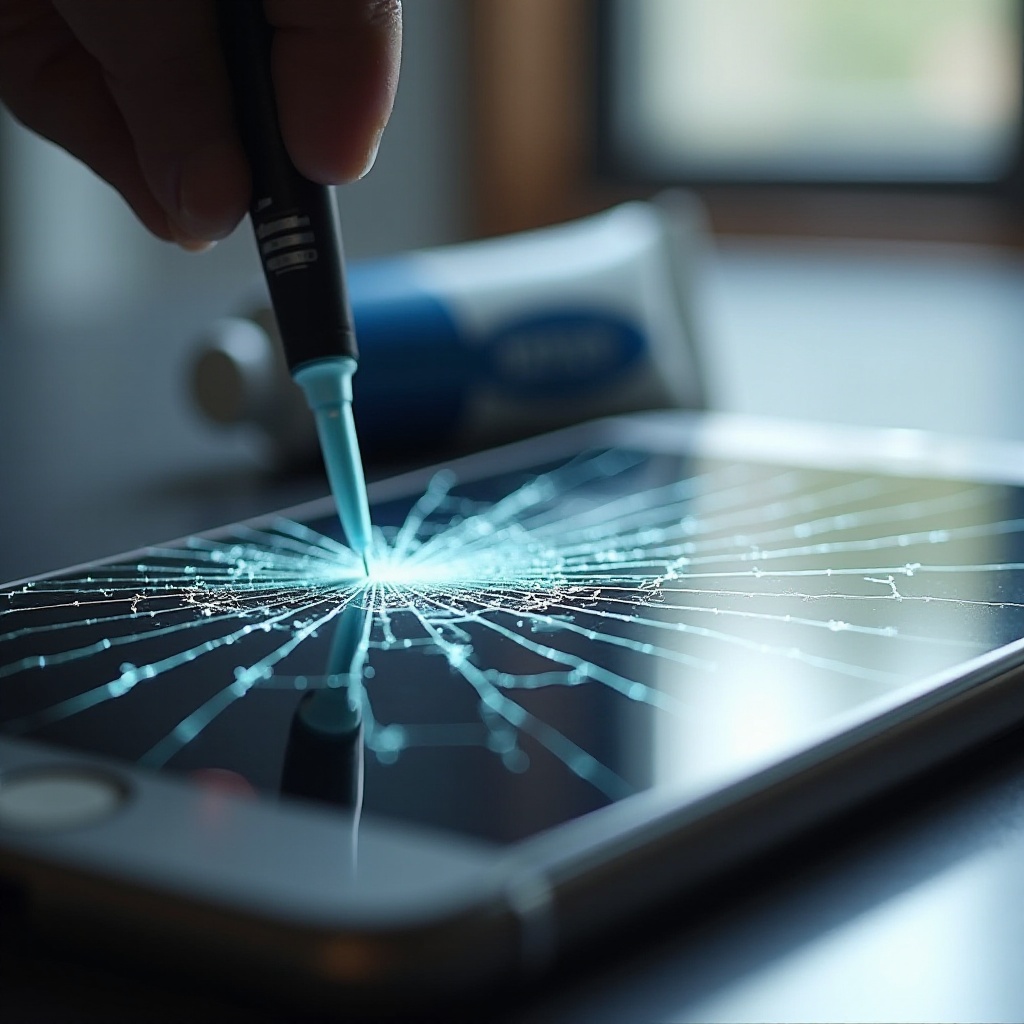
UV Glue: UV glue cures quickly with ultraviolet light, resulting in a clear finish that is perfect for minor cracks in touch-sensitive areas. It offers precise application with minimal residue.
Pros and Cons of Popular Options
While epoxy provides excellent durability, its rigidity may not suit touch-sensitive screens. Conversely, UV glue is top-tier for clear, delicate surfaces but requires UV light for curing, introducing an additional step. Matching your choice to the crack’s severity ensures effectiveness.
Having chosen the appropriate adhesive type for your repair, you can proceed with confidence to the practical step-by-step process, maintaining the connection to this informed decision.
DIY Repair: Step-by-Step Process
Once equipped with the right glue, embark on your DIY screen repair with the following procedure:
-
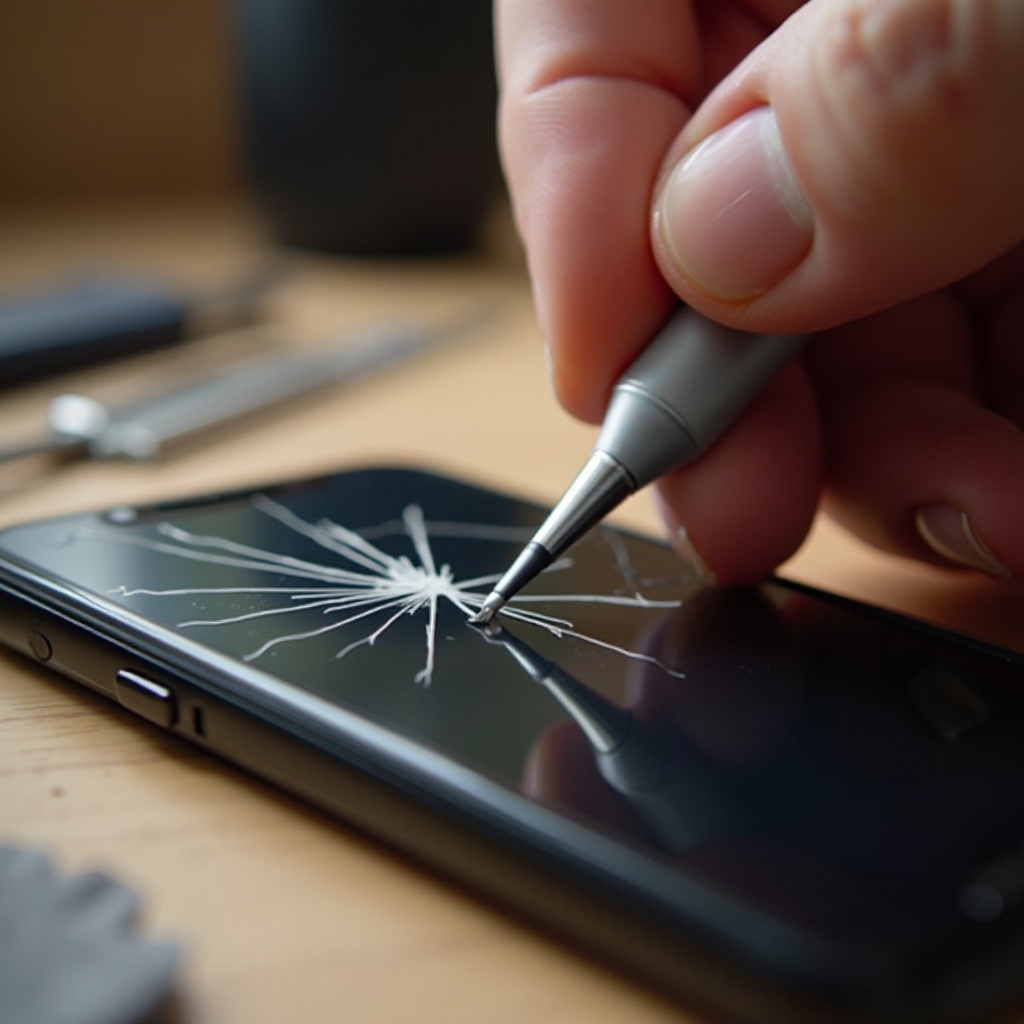
Preparing Your Workspace: Create a clean, well-lit work environment. Gather all necessary tools, including cleaning supplies, protective gloves, and your adhesive of choice.
-
Cleaning the Damaged Screen: Adhesion can be impeded by dirt and oils. Wipe your screen gently with a microfiber cloth moistened with isopropyl alcohol to ensure it is clean and ready for repair.
-
Applying Glue Correctly: Start with a minimal amount of glue, as excess can create spillovers. Carefully distribute the adhesive along the cracks, maintaining even coverage.
-
Allowing Proper Curing Time: Patience is vital for effective curing. Adhere to the specific curing times for your chosen adhesive. With UV glue, ensure the crack area is fully exposed to UV light for accurate curing.
Following these meticulous steps, you can achieve equally professional-grade repair results, seamlessly transitioning to understanding common pitfalls that can derail your DIY efforts.
Common Mistakes to Avoid
For a successful DIY repair, sidestep these frequent blunders:
Using the Wrong Type of Glue
Grabbing any readily available glue might worsen the damage. Using adhesives suited to electronic screens is essential for effective bonding.
Skipping the Cleaning Process
Some might overlook cleaning as trivial, but it can significantly affect adhesion quality, potentially leaving unsightly bubbles or weak bonds.
Rushing the Curing Time
Impatience can sabotage your progress. Skipping adequate curing time results in weak adhesion, risking further screen damage over time.
By avoiding these mistakes, you establish a pathway to comparing the cost of your DIY attempt to that of professional services, ensuring a well-rounded understanding of repair options.
Comparative Costs: DIY vs Professional Repair Services
Evaluating repair method costs is vital to opting for the most financially sensible choice.
Cost Breakdown of DIY Solutions
DIY repairs require purchasing adhesives and basic tools, typically costing considerably less than professional services. On average, expenses can range from $20 to $50, including quality glue and tools.
When to Consider Professional Help
Complex or extensive cracks impacting multiple layers necessitate professional intervention. Although pricier, usually between $100 to $300, hiring a professional ensures comprehensive repair without risking further damage.
Comprehending cost implications is crucial but does not negate the need to prioritize safety when using adhesives and working with electronics in subsequent sections.
Safety Tips for Using Adhesives on Electronics
Safety should remain a priority when handling adhesives, particularly on electronic devices.
Personal Protective Equipment
Always don gloves to avoid skin contact with adhesives. If using UV glue, protective eyewear is crucial to protect your eyes from potential UV damage.
Safe Handling and Disposal
Ensure good ventilation to reduce inhalation risks. Follow local guidelines for proper disposal of adhesive waste to minimize environmental impact.
Successfully completing your DIY repair involves understanding these safety protocols, leaving you ready for concluding reflections on your screen repair project.
Conclusion
Repairing a cracked phone screen with glue can be a gratifying, cost-effective endeavor if approached correctly with the proper materials. By comprehending screen damage, selecting the right adhesive, and following a detailed repair process, you ensure your device’s extended functionality and visual appeal, often without professional intervention.
Frequently Asked Questions
Can I use any glue to fix my phone screen?
No, using regular household glue can damage your screen further. Always use adhesives like epoxy resin or UV glue designed specifically for electronics.
How long does it take for glue to cure properly?
Curing times vary. Epoxy can take several hours, while UV glue cures in minutes under UV light. Always refer to the product guidelines.
What should I do if the DIY repair goes wrong?
If your repair attempt isn’t successful, consult a professional technician. Trying repeated DIY fixes can exacerbate the issue and complicate subsequent professional repairs.