Introduction
Disassembling your HP laptop may seem like a complicated task, but it’s a valuable skill for upgrades, repairs, or cleaning. In this guide, we’ll walk you through the process step-by-step, ensuring you maintain your device’s integrity while performing the disassembly. With patience and care, you can effectively manage your laptop’s internal components, enhancing its performance and longevity.
Tools and Preparation
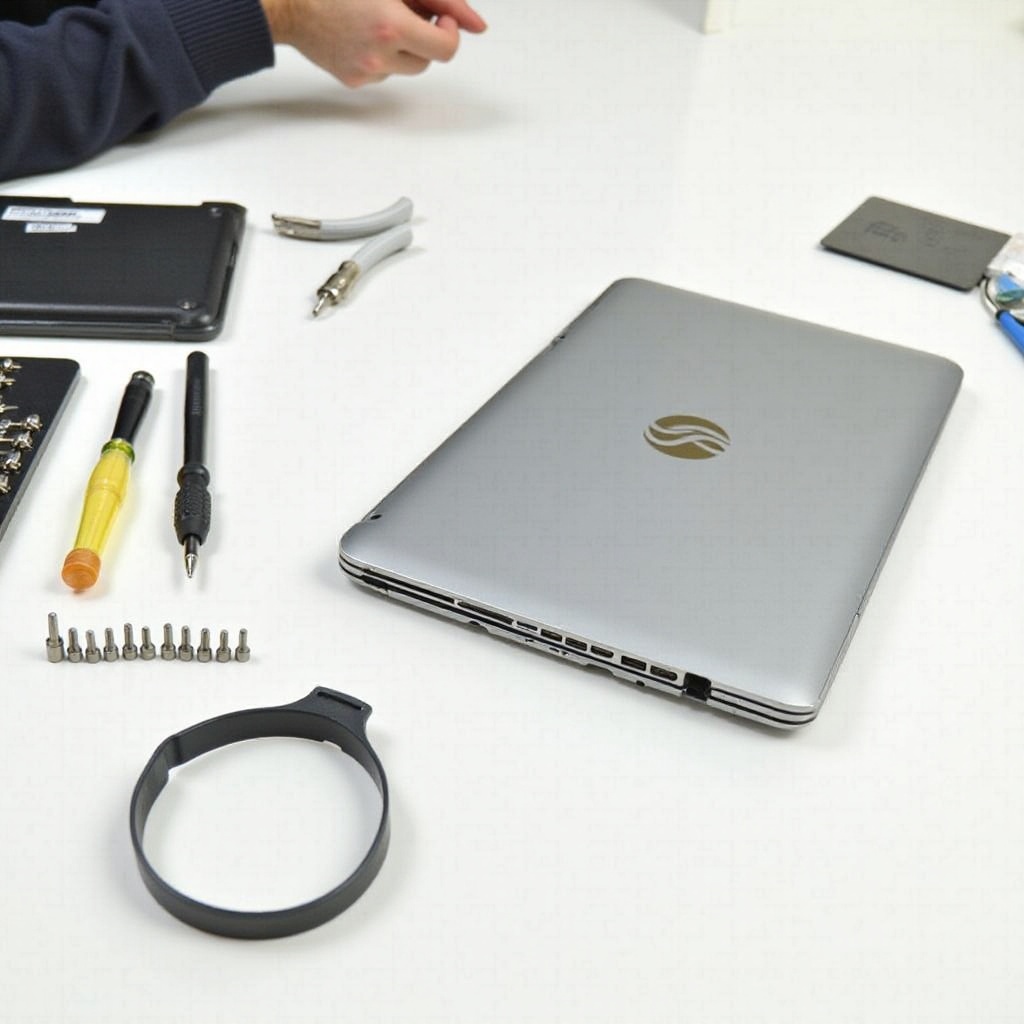
Before diving into the disassembly process, gathering the right tools and setting up an organized workspace is essential. Having everything you need at your fingertips will make the process smoother and reduce potential errors.
-
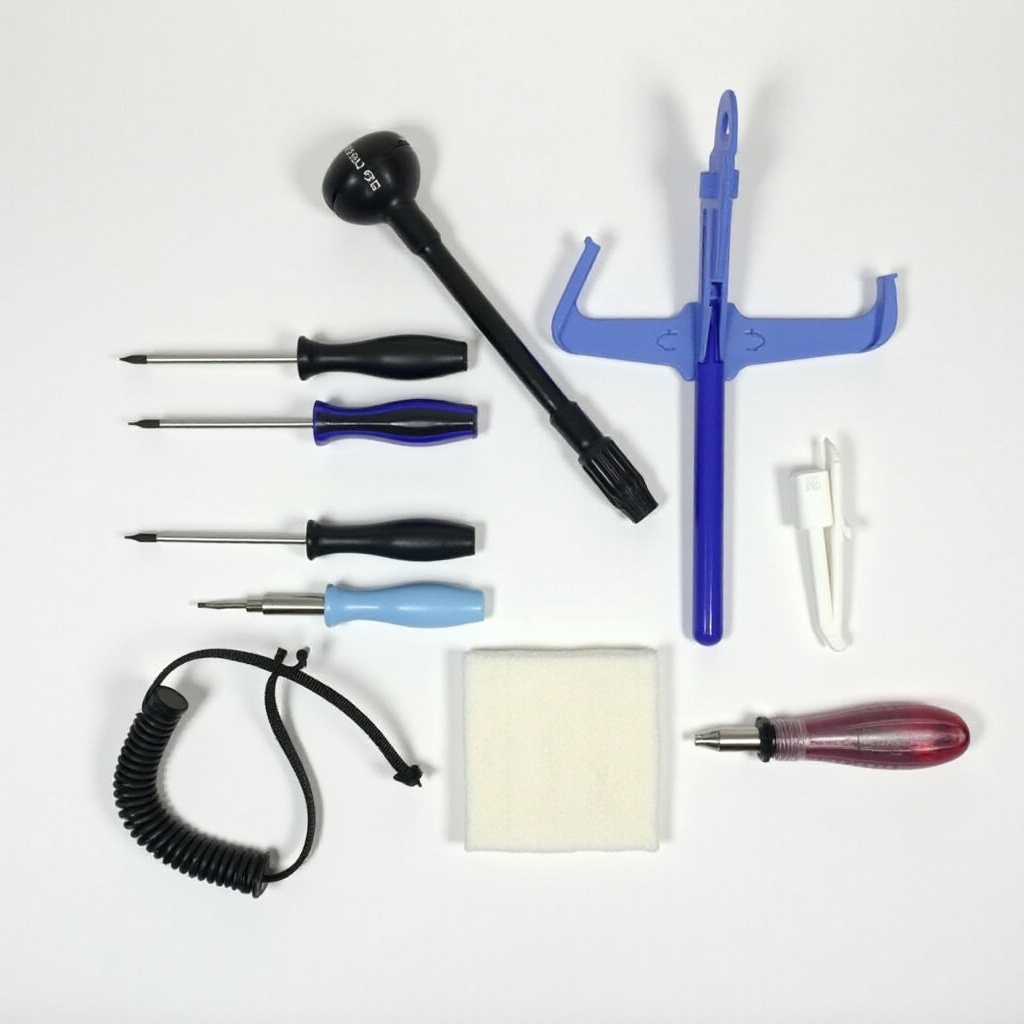
Essential Toolkit: You’ll need a set of screwdrivers (typically Phillips #0 and #00), a pair of tweezers, and a plastic prying tool. These tools will help you open the casing and manipulate sensitive components without causing damage.
-
Creating a Safe Workspace: Establish a clean, static-free area with adequate lighting. This setting will be critical throughout the disassembly process to prevent damage and maintain focus.
-
Precautions Before Starting: Wear an anti-static wrist strap or periodically touch a grounded metal object to prevent static electricity from damaging your device’s sensitive parts.
With your tools and workspace ready, it’s time to prepare your laptop for disassembly to ensure a smooth procedure.
Preparing Your Laptop
Proper preparation is crucial to an efficient disassembly process. Protecting your data and keeping track of components will aid in reassembly.
-
Backing Up Your Data: Securely back up all critical data using an external storage device or cloud service to prevent data loss during disassembly.
-
Disconnecting Power Sources: Remove the power cable and, if possible, the battery. This step is vital to avoid electric shock and prevent any accidental damage to the internal components.
-
Identifying Your HP Laptop Model: Determine your specific laptop model and refer to model-specific disassembly guides online if available. These resources often provide insights into particular features for different models.
Once your laptop is prepared, the next stage involves the actual disassembly, where patience and precision are your best tools.
Step-by-Step Disassembly Process
Carefully follow these instructions to safely disassemble your HP laptop:
- Removing the Back Panel: Unscrew the Phillips screws securing the back panel. Store these screws in a labeled container for easy reassembly.
- Taking Out the Battery: If your model includes a removable battery, slide the latch and lift the battery from the laptop.
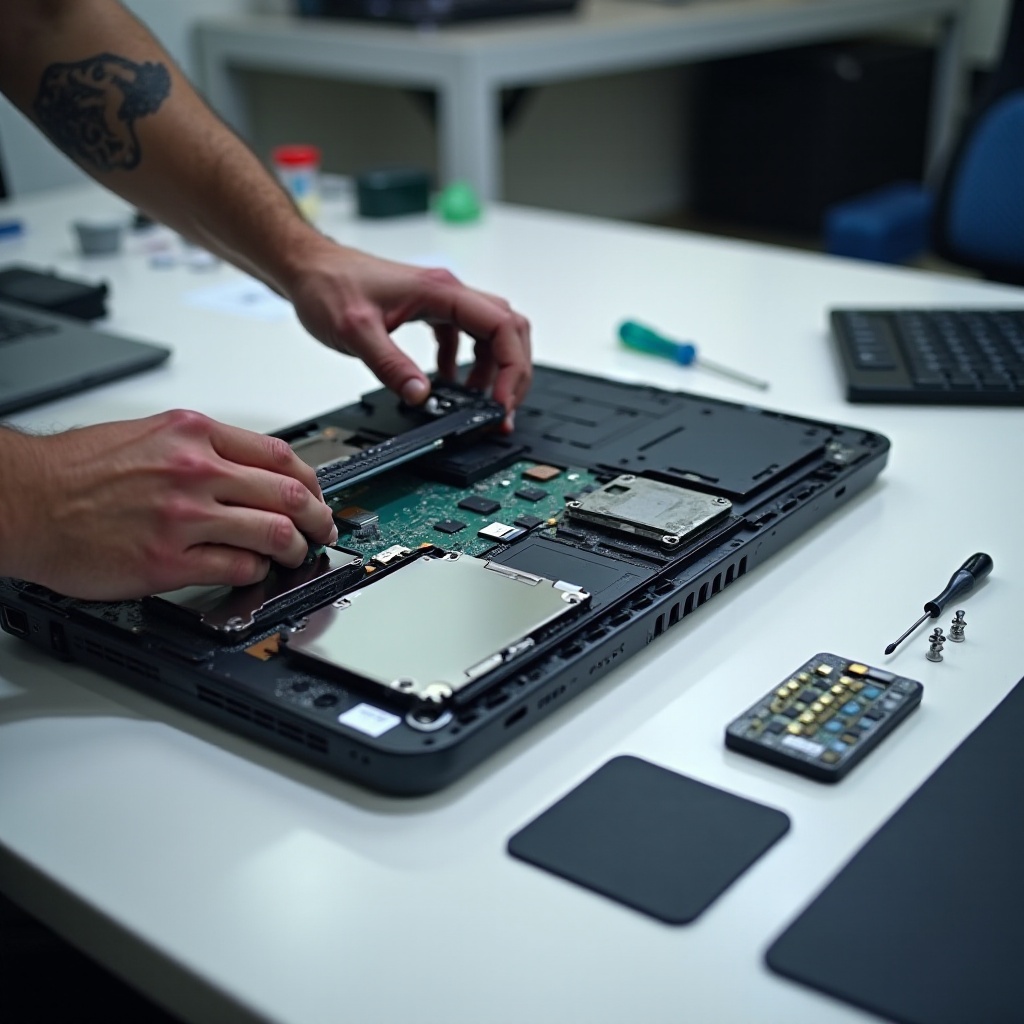
- Disconnecting Cables and Connectors: Use tweezers or a prying tool to gently disconnect any internal cables and connectors, ensuring you don’t break fragile connections.
- Detaching Hard Drive and SSD: Remove any mounting brackets and slide out the drives, ensuring all connections to the motherboard are carefully detached.
- Removing RAM Modules: Gently press the metal clips on either side of the RAM to release it from its slot, taking care to handle it by the edges.
- Extracting Optical Drives: If your laptop features an optical drive, unscrew it from its bracket and carefully remove it from its bay.
With these primary components removed, we can now focus on the internal elements, requiring even more delicate handling.
Handling the Internal Components
Disassembling further reveals critical parts like the motherboard and CPU, which require gentle handling.
-
Removing the Motherboard: Carefully unscrew all screws securing the motherboard and gently lift it, ensuring all connectors and cables are free.
-
Handling the Processor and Cooling Systems: Unscrew the heat sink and set it aside, and if needed, detach the cooling fan from the motherboard.
-
Managing Additional Peripherals: Any additional cards or peripherals should be carefully unscrewed and detached, following the same precautions.
Managing these internal components requires careful attention to detail, setting the stage for an organized reassembly process.
Safety and Organization Tips
Maintaining organization throughout this process prevents errors during reassembly and helps ensure every component returns to its rightful place.
-
Avoiding Static Electricity: Continuously wear an anti-static wrist strap or ground yourself by touching a metal surface to minimize static discharge.
-
Keeping Track of Screws and Parts: Use labeled containers or magnetic trays to sort screws and small parts based on their originating components.
-
Organizing Removed Components: Lay components out in the sequence they were removed to facilitate an organized and straightforward reassembly.
With components organized and safety measures in place, the reassembly phase becomes highly manageable.
Reassembly and Testing
Reassembling your laptop requires carefully reversing the disassembly process. Ensure each component is secure and connected properly.
-
Reassembling Step-by-Step: Start from the core components, following the disassembly steps backward. Secure each part with its respective screws.
-
Performing a System Check: Once reassembled, reconnect the power source and test each function to confirm the laptop operates correctly.
Testing your device ensures that it has been correctly reassembled and everything functions as intended. Let’s wrap up this guide.
Conclusion
Disassembling an HP laptop requires diligence, precision, and patience. By adhering to this guide, you have mastered the essential steps needed to safely disassemble, maintain organization, and successfully reassemble your HP laptop. Always prioritize safety, and when in doubt, consult professional assistance. A well-maintained device will keep you satisfied with its performance and longevity.
Frequently Asked Questions
Is it safe to disassemble my HP laptop by myself?
Disassembling your HP laptop is safe with the right precautions. Ensure all power is disconnected, use the correct tools, and maintain static control.
What should I do if I lose a screw during disassembly?
Losing a screw is common. You can often find replacements at electronics stores or order them directly from the laptop manufacturer.
How often should I consider disassembling my laptop for cleaning?
It is advisable to disassemble and clean your laptop every six months, or whenever you notice decreased performance or overheating.