Introduction to Necklace Knots
Necklace knots serve as both functional and stylistic elements in jewelry design, offering jewelers the opportunity to craft adjustable and personalized pieces. Whether you’re employing sliding knots for their versatility in adjusting a necklace’s length, or using slip knots for their decorative charm, mastering these techniques marks a significant milestone in jewelry making. For both novices and seasoned jewelers, understanding the fundamentals of knotting lays the groundwork for more sophisticated designs and techniques. Essentially, necklace knotting unveils endless possibilities, enabling creativity in combining various materials like leather and silk, and allowing for the seamless integration of pendants. This guide is tailored to furnish you with the requisite skills to enhance your craftsmanship via essential knotting techniques.
Secure Knot Tying for Jewelry
Understanding the Basics
In the realm of jewelry crafting, securing your knots is indispensable for ensuring both durability and aesthetic appeal. Foundational knowledge around knot tension and consistency is essential to create knots that are sturdy and long-lasting. A properly secured knot guarantees that your necklace remains intact, preventing unwanted unravelling or loosening that could detract from its wearability and appearance. In this section, we explore these core concepts to equip you with the insight needed to avoid common pitfalls that lead to weak knots, thereby ensuring your creations stand the test of time.
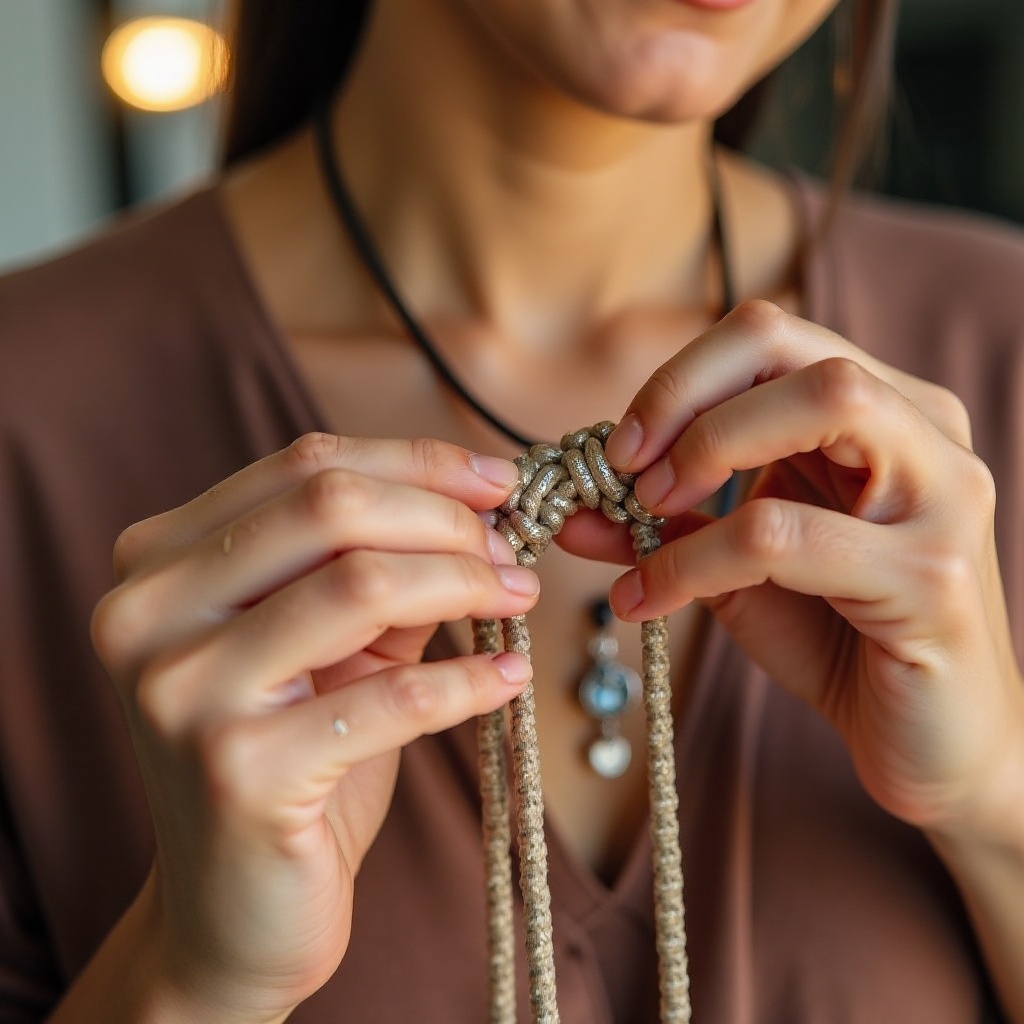
Step-by-Step Guide to Basic Knot Techniques
With a solid grounding in the importance of secure knotting, we now turn to the practicalities of the craft. We’ll guide you through creating fundamental knots, such as the double overhand and square knots, which are vital for both decorative and functional purposes:
1. **Double Overhand Knot**: Begin by threading the end of your cord and tying an initial overhand knot. Loop the end through the knot once more, pulling tightly to secure. This knot provides added strength, making it ideal for securing clasps or ends.
2. **Square Knot**: Start with the right cord crossing over the left, then under. Reverse by crossing the left over the right, pulling tightly. This versatile knot is perfect for combining ends or attaching elements symmetrically.
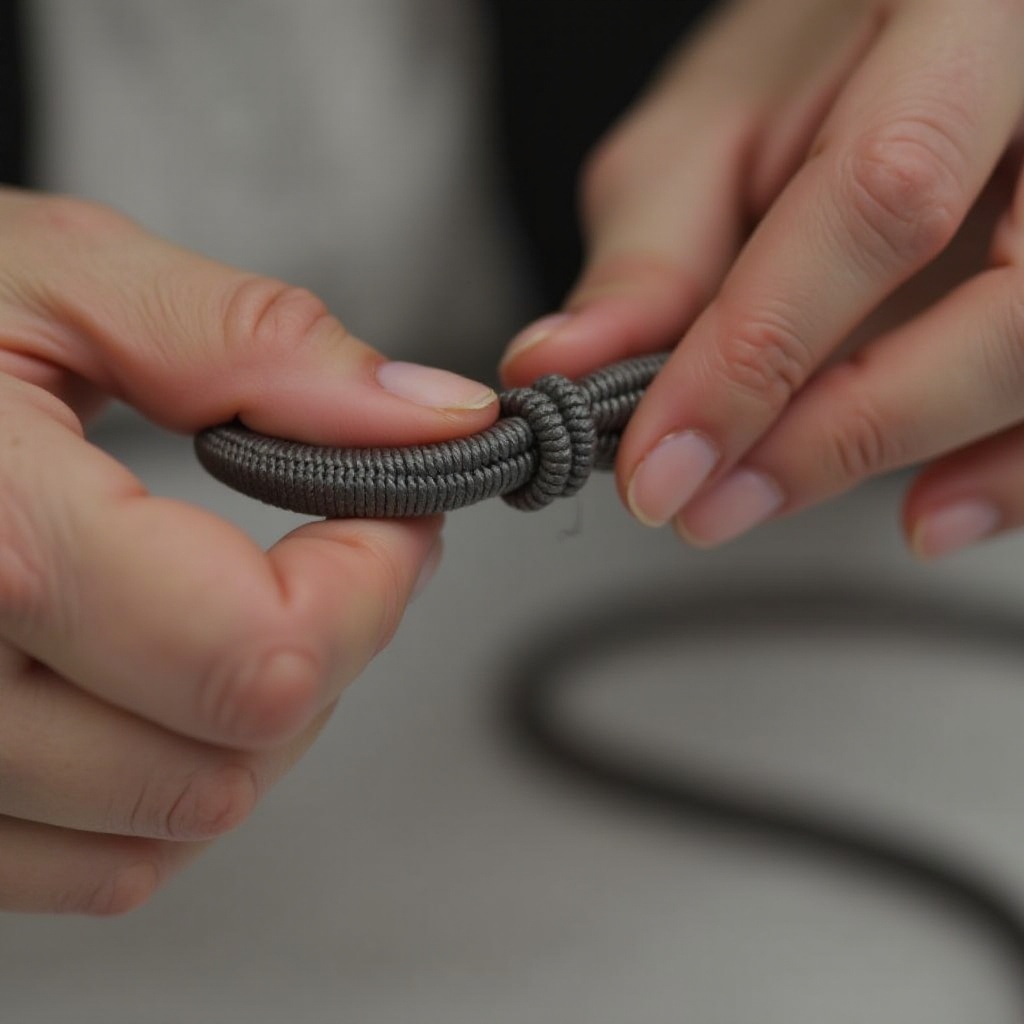
3. **Sliding Knot**: For adjustable closures, the sliding knot offers flexibility and ease of wear. Overlap the ends of the cord, loop one end around both sections three times, feed it back through the loops, and pull tight. The knot should slide to adjust the length of your necklace.
As you familiarize yourself with these techniques, you’ll not only ensure durability but also discover how such customization can significantly enhance the aesthetic of your jewelry designs.
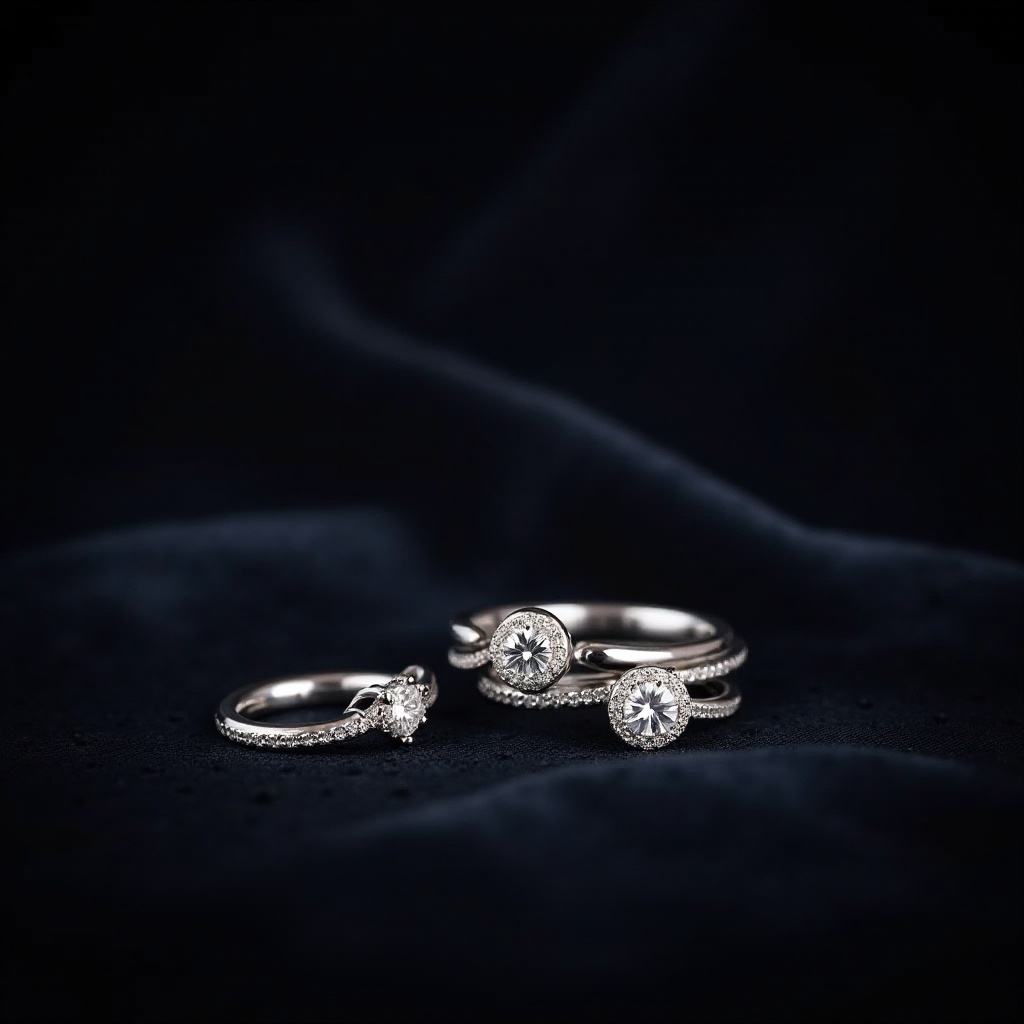
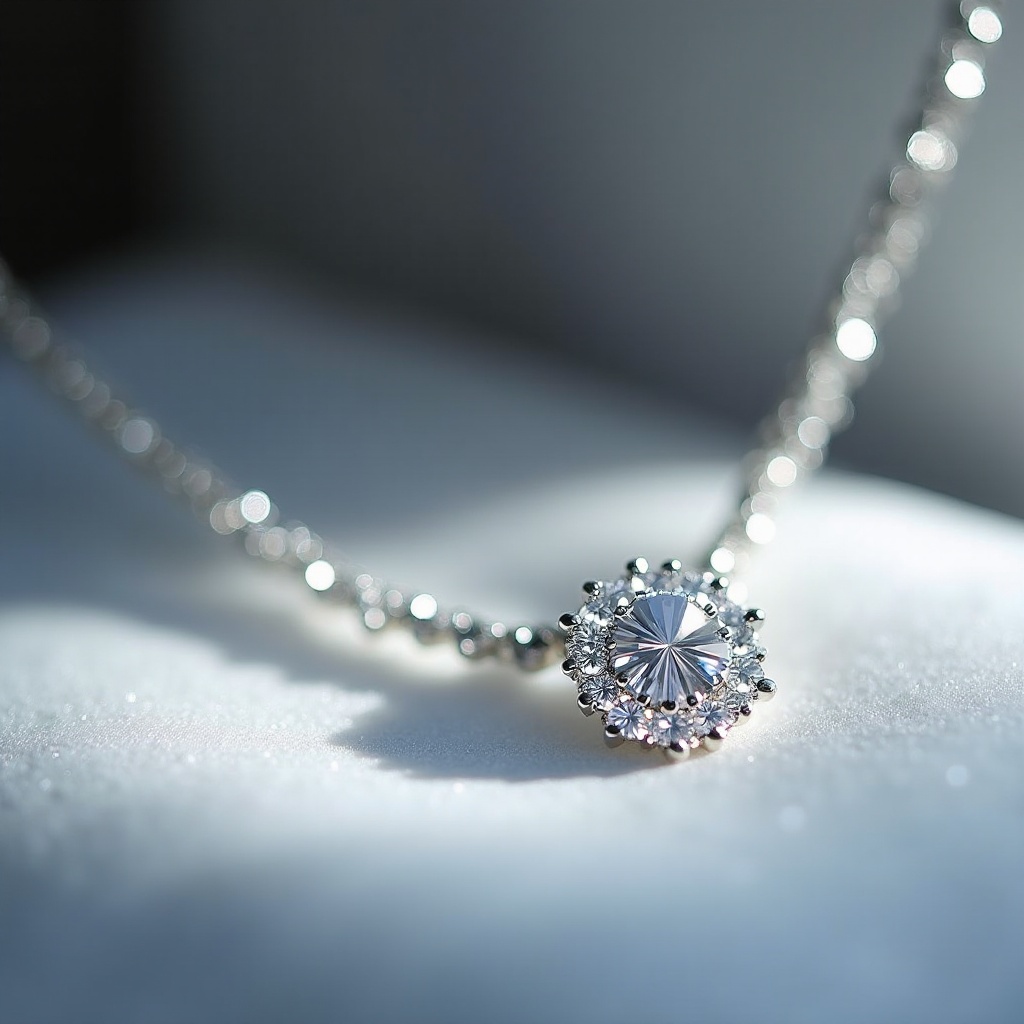
Attaching Pendants to Your Necklace
Pendants add personality and focus to necklace designs, necessitating more than mere attachment; they require secure integration techniques to elevate the overall piece. Bails, small components that connect the pendant to the necklace, are a preferred method for attachment. Choose a bail that matches both the size and style of your pendant, ensuring that it complements the necklace’s overall aesthetic. Aligning your pendants precisely with the rest of your design creates stunning focal points, elevating your jewelry from ordinary to extraordinary. When using bails, ensure that the connection is snug but not too tight, allowing the pendant to hang naturally. Proper alignment and secure attachments are essential for crafting visually harmonious pieces that stand out in any collection.
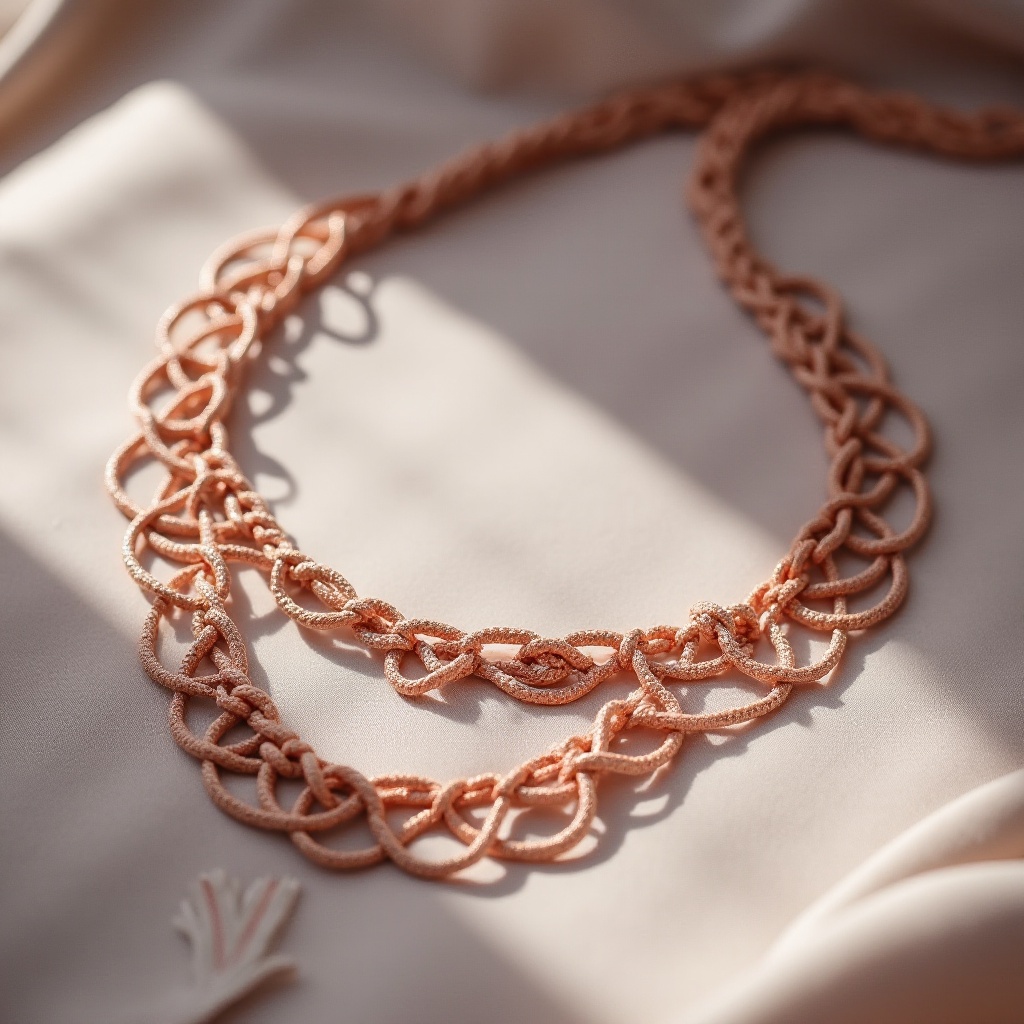
Leather Necklace Knot Instructions
Leather necklaces boast timeless appeal due to their rugged yet sophisticated look. The unique texture and flexibility of leather make specific knotting techniques essential. To craft a professional-looking leather necklace, consider employing knots that accentuate the material’s inherent qualities. The sliding knot, in particular, is favored for leather due to its adjustability and stylish look. When working with leather, it’s critical to maintain the cord’s integrity by balancing tension to prevent stretching or damaging the material. Using the right tools, such as beeswax to condition leather cords, can also assist in achieving a smooth finish. Mastering these techniques turns a simple leather cord into a refined, elegant accessory, enhancing both its longevity and appeal.
Summary
This guide has encompassed a broad spectrum of necklace knotting techniques, from learning the basics to integrating pendants and working with unique materials like leather. Whether you’re embarking on a jewelry-making journey or refining your existing skills, mastering these knotting techniques not only elevates your craftsmanship but also amplifies your creativity. By understanding and applying these methods, you can craft pieces that are both functionally superior and rich in personal flair, opening a world of design possibilities. Let this guide be your foundation as you explore the intricate art of necklace knotting, creating jewelry that is durable, beautiful, and uniquely yours.
How to make and tie necklace knots for adjustability?
Adjustable necklace knots are essential for creating versatile pieces that cater to a variety of necklines and personal preferences. One popular method is the sliding knot, which provides adjustability without the need for clasps or hardware. To create a sliding knot, follow these steps:
1. Cut two lengths of string or cord, allowing for extra length to account for the knots and any adjustments.
2. Form a loop with one end of the cord, lay the other side of the string parallel, and then wrap the working end around both cords.
3. Pass the working end through the formed loop and pull gently to tighten, ensuring the knot remains snug but still slides easily.
4. Trim any excess cord to your desired length, and your adjustable necklace is ready to wear.
What are the best methods for creating necklace knots step by step?
Creating necklace knots involves a few different techniques, each suited for various styles and preferences. Here’s a step-by-step guide for one of the most effective methods:
1. Gather your materials: cord/string, beads (optional), and scissors.
2. Start by cutting your cord to the desired length. Remember to add a few extra inches for tying knots.
3. To create a basic overhand knot, make a loop with the cord, pass the end through the loop, and tighten.
4. For a more secure finish, consider using a double knot, repeating the process for extra durability.
5. If your design includes beads, string them on before making the final knot.
6. End by securing the ends with a burn or glue to prevent fraying, ensuring a professional finish.
How can I create necklace knots using different materials like string?
Using different materials like string opens up creative possibilities for necklace designs. Each material, whether it’s cotton, leather, or silk, has unique properties influencing the knot’s appearance and functionality. Here’s how to create a necklace knot with string:
1. Choose your string considering its thickness and flexibility. Thinner strings work well for intricate knots, while thicker ones provide bulk and visual interest.
2. Cut your string to the desired length, allowing extra for knotting.
3. For a simple knot, use an overhand knot by making a loop, threading the string end through it, and pulling tight.
4. For more decorative options, try a square knot or a lark’s head knot, both of which are great for incorporating beads or charms.
5. To finish, secure the ends with a dab of clear-drying adhesive or use a lighter to gently burn the ends, preventing the string from unraveling. The choice of technique largely depends on the string material and the desired end result.