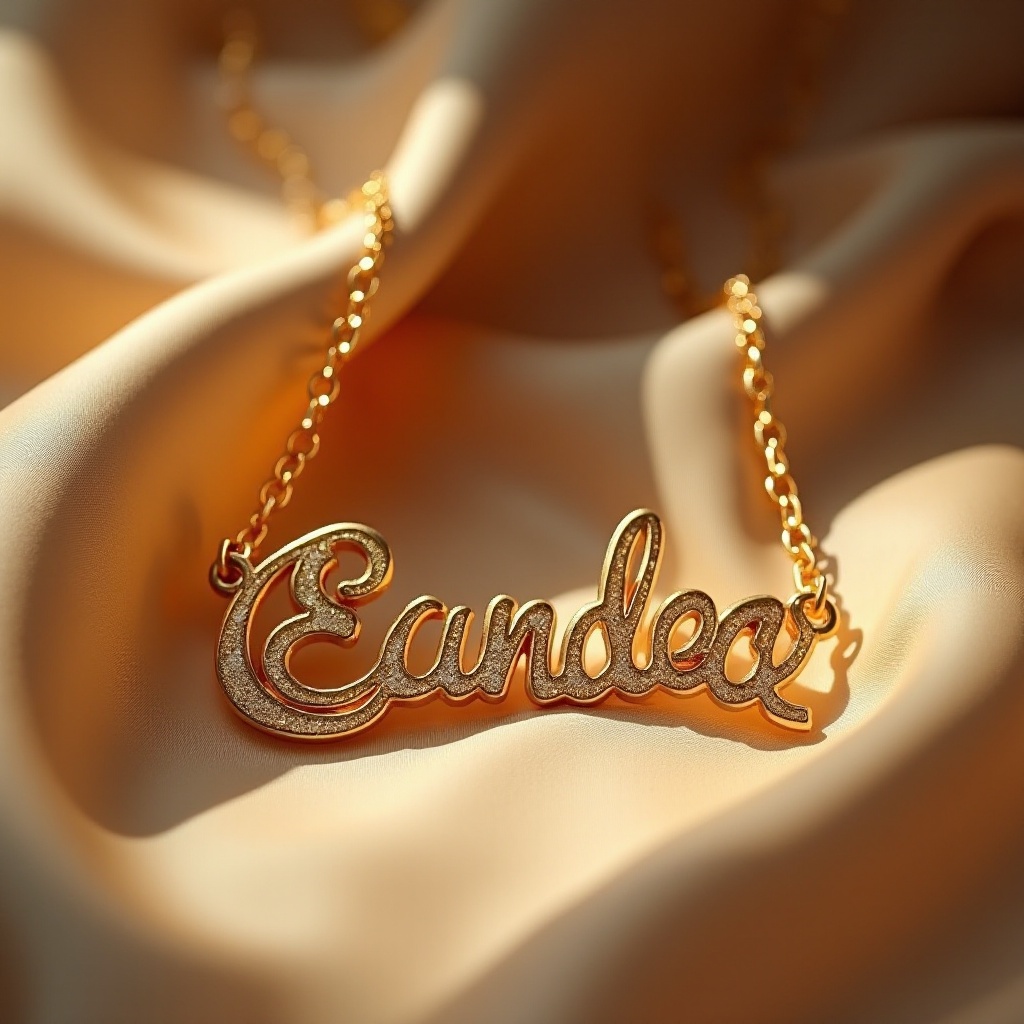
Introduction to Necklace Clasp Making
Crafting your own necklace clasps is an endeavor that offers both a fulfilling creative outlet and practical benefits. By mastering this skill, you not only gain the ability to personalize your jewelry but also ensure the structural integrity of your designs. Necklace clasps are the unsung heroes of jewelry pieces, providing essential functionality while subtly accentuating the overall aesthetic. This guide is your starting point into the captivating world of custom clasp creation, laying a solid foundation by covering the necessary materials, tools, and techniques.
Whether you are an aspiring jeweler or a seasoned artisan, understanding the intricacies of clasp making can significantly expand your creative horizons. Custom clasps allow designers to enhance the uniqueness of each piece, tailoring them to reflect personal style and artistic vision. The journey into clasp making starts with the basics—knowing your tools, familiarizing yourself with various clasp styles, and learning how to manipulate these elements to achieve your desired outcome. Ready to elevate your jewelry-making skill set? Let’s dive in.
Garden Gate Clasp Tutorial
Materials and Tools Needed
To begin crafting the exquisite Garden Gate Clasp, gather essential materials such as brass wire, pliers, and a wire cutter. Selecting the appropriate wire is crucial; typically, a 20- to 22-gauge brass wire is perfect for its flexibility and robust nature. These gauges provide the right balance of sturdiness and ease of manipulation, which are key for crafting intricate designs. Complementary decorative elements, such as beads or small floral charms, can enhance your clasp, adding a layer of visual intrigue.
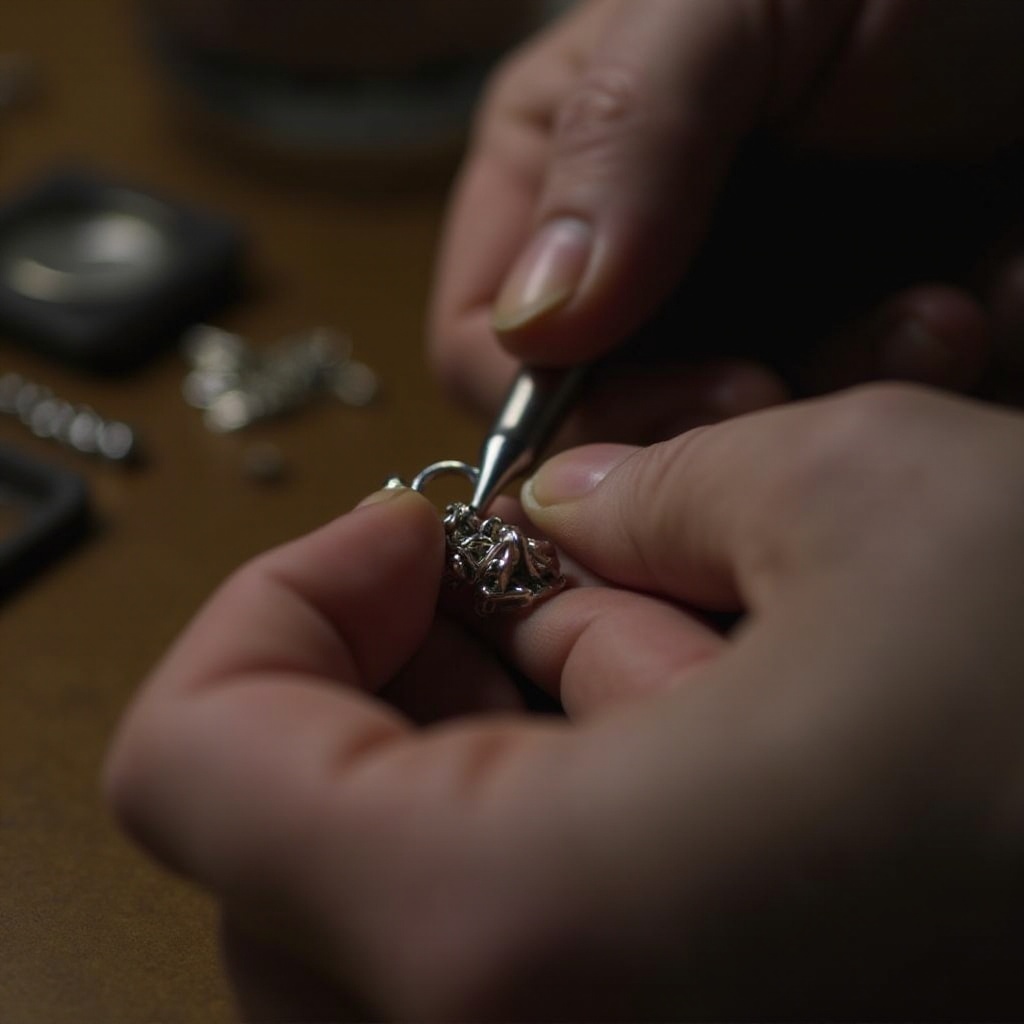
For the tools, a set of pliers is indispensable—round-nosed pliers for forming gentle curves and loops, flat-nosed pliers for securing wire ends and making precise angles, and a wire cutter for clean cuts. These tools are the extensions of your creativity, allowing you to transform raw materials into ornate clasp designs that are both functional and beautiful.
Step-by-Step Crafting Process
The process of creating a Garden Gate Clasp is a fascinating blend of precision and artistry. Begin by measuring and cutting approximately 3-4 inches of brass wire, adjusting the length based on your desired size and complexity. Using the round-nosed pliers, form a small loop at one end. This loop is not merely decorative; it is crucial for anchoring the clasp securely to your necklace.
The next step involves bending the wire into a hook shape. This requires gentle but firm manipulation to ensure the curve is smooth and symmetrical. As consistency is key, periodically check the form against your design blueprint or sketch. With your hook formed, take the remaining wire tail and wrap it around the base to create a secure neck, which fortifies the structure and adds a decorative flair.
To craft the ‘eye’ of the Garden Gate Clasp, cut another piece of wire and form a loop large enough to accommodate the hook. This part must be proportionate to ensure a snug, secure closure. Secure the loop by wrapping the wire back onto itself. This adds durability and a touch of elegance to the overall design. Finally, inspect the clasp, refining any rough edges or misalignments to ensure a polished finish. Successful completion of this process results in a clasp that is as functional as it is beautifully crafted, perfect for complementing intricate jewelry pieces.
Alternative Clasp Designs
Beyond the elegance of the Garden Gate Clasp, a multitude of other designs exists, each offering distinct benefits and aesthetic appeal. The S-Hook Clasp stands out for its understated elegance and simplicity. Crafting this clasp involves forming an “S” shape using a single piece of wire—one hook for threading into an eye loop and the other for securing it. This design is particularly ideal for heavier necklaces due to its reliable closure mechanism.
The Lobster Clasp, favored for its modern appearance and ease of use, offers a sleek solution for those who prefer minimalist closures. Often used in combination with a jump ring, it provides durability and ease of attachment. For those seeking a delicate touch, the Easy Silver Necklace Clasp presents a refined option. Constructed from slender silver wire, this clasp complements dainty jewelry pieces and is crafted with elegance and restraint in mind.
Each of these designs caters to specific stylistic preferences and requirements, enabling you to customize your jewelry projects significantly. Whether your design calls for subtlety or dramatic flair, the choice of clasp can be a defining feature, incorporating creativity and functionality in perfect harmony.

Summary
Embarking on the journey of making your own necklace clasps unlocks a realm of creativity and personalized expression in jewelry design. This comprehensive guide has introduced you to the essential materials and tools, provided an in-depth crafting process for the Garden Gate Clasp, and explored other captivating clasp designs. Armed with these skills, you are empowered to infuse your jewelry with distinctive closures that not only enhance aesthetic appeal but also assure functional integrity. Your creations will undoubtedly resonate with artistry and precision, setting your jewelry pieces apart in both beauty and craftsmanship.
How do you make a clasp for a necklace using string?
To make a clasp for a necklace using string, you can use a simple loop and knot method. Start by cutting the string to your desired necklace length, adding a couple of extra inches for tying. At one end of the string, tie a small loop by doubling the string over and securing it with a tight knot. This loop will serve as part of the clasp mechanism. On the other end of the string, tie a simple knot or add a small bead before knotting it. When wearing the necklace, you thread the beaded end through the loop to secure it. This method is ideal for lightweight necklaces and can be adjusted based on string type and thickness.
What are the different types of necklace clasps and closures?
Necklace clasps and closures come in various designs, each serving different purposes from aesthetic appeal to practical functionality. Common types include the lobster clasp, known for its durability and ease of use; the spring ring clasp, which is compact and versatile for different jewelry styles; the toggle clasp, offering a decorative look with a T-bar and circle closure that’s easy to manage; the magnetic clasp, ideal for those with limited dexterity; and the box clasp, often used for vintage or high-end pieces due to its secure and stylish design. Each type of clasp provides different mechanisms for securing necklaces and can be chosen based on aesthetic preference or ease of use.
How can you make a necklace clasp suitable for the elderly?
To create a necklace clasp suitable for the elderly, priority should be given to ease of use and comfort. Magnetic clasps are highly recommended because they easily snap together without requiring precision or strength. These clasps can be incorporated into existing jewelry by replacing traditional clasps or adding an extender with magnetic ends. Additionally, toggle clasps are suitable as they do not require much dexterity—simply inserting the T-bar into the circle is straightforward. Always ensure the magnetic strength is sufficient to prevent accidental openings while providing the convenience needed for wearers with reduced hand mobility.
How can you attach a clasp to jewelry pieces like necklaces and bracelets?
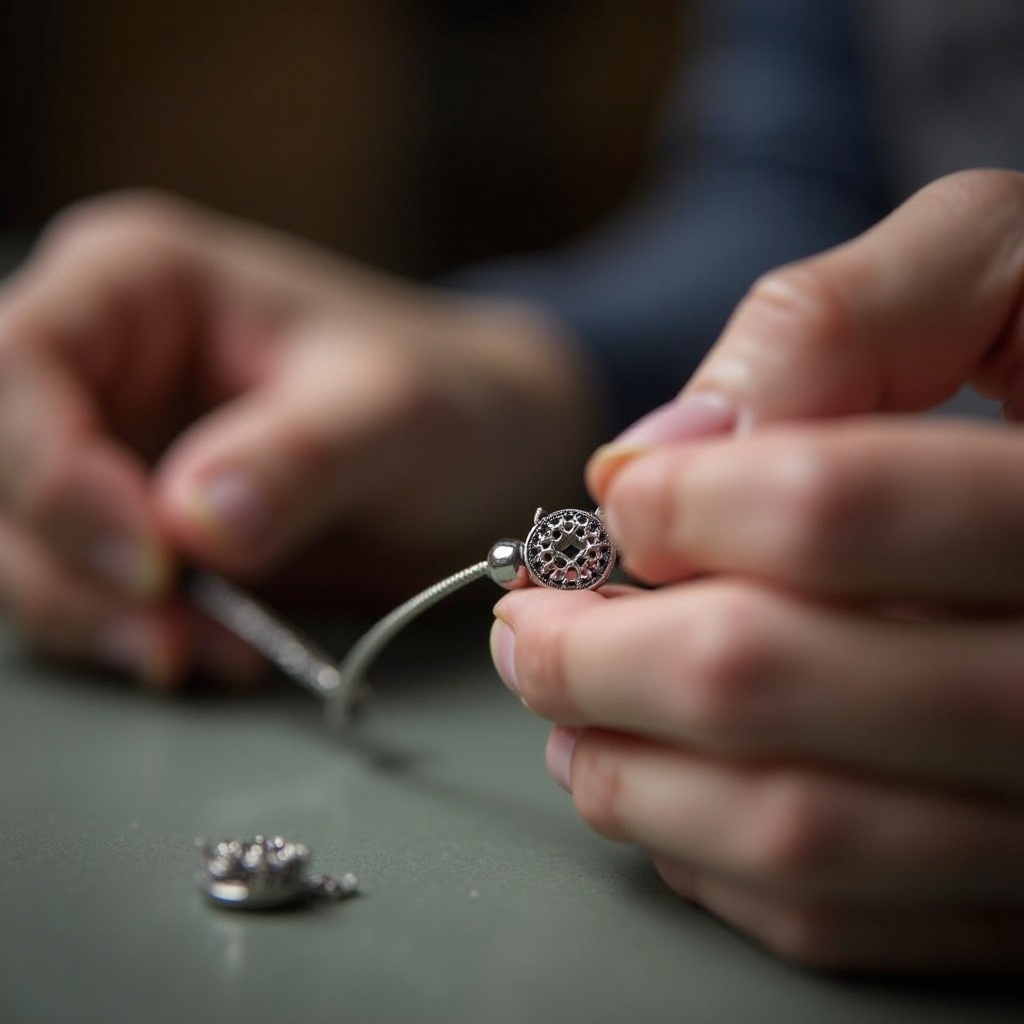
Attaching a clasp to jewelry pieces like necklaces and bracelets involves a few simple steps, depending on the type of clasp and the material of the jewelry. For most clasps, such as lobster or spring ring clasps, you’ll need jump rings to connect the clasp to the end of the necklace or bracelet. Open a jump ring using two pairs of jewelry pliers by twisting rather than pulling apart. Thread the jump ring through the loop at the end of the clasp and the last link of the necklace chain. Carefully twist the jump ring back to a closed position. For string or cord materials, you may need to use crimp beads to secure the clasp. Simply thread the string through the crimp bead and the clasp loop, then back through the crimp bead, and use crimping pliers to secure everything in place.
How do you make a lobster clasp?
Making a lobster clasp from scratch is a complex process typically undertaken by professional jewelers due to the precision and delicate mechanisms involved. Lobster clasps are usually produced using intricate metalwork techniques involving cutting, shaping, and polishing metals such as stainless steel or sterling silver. However, if you’re interested in assembling a necklace using pre-made lobster clasps, you can purchase them from jewelry supply vendors. To use them, attach the clasp to your jewelry piece with jump rings or crimp beads, depending on the materials involved. The functionality of a lobster clasp lies in its spring-loaded gate, allowing it to open and close securely around a jump ring or chain loop.